by CJ Williams
Duke traps are one of the least expensive traps on the market today, and very few people would say that they are the best. Sure, there are better quality traps at higher prices, but in my view the Duke 1.5 coilspring is a solid trap at a reasonable price that can be used with great effectiveness on the average raccoon trapline. If you can afford more traps you can set more steel, run a longer line, and gang-set your hot-spots. Dukes may be inexpensive but they are not "cheap." I have never had a problem with them, after a few simple modifications, and I doubt there's any raccoon who cares whether he's caught in a Victor, Bridger or a Duke. If they get the job done and done well, and they cost a little less, it stands to reason that the 'coon trapper should give the Duke 1.5 coilspring a fair chance to prove its worth. I have a few dozen Duke 1.5's that I have run hard for the past 4 or 5 years and they keep getting the job done.
You will read many opinions on what trap modifications are necessary. Some spend hours modifying and tuning a single trap; others use them right out of the box. I'm somewhere in between. When it comes to raccoon trapping I don't really see the need to do any more modifications than the few I'll illustrate here.
Here's a Duke 1.5 coilspring right out of the box:
Next, I set the trap and observe whether the pan is level with the jaws. Leveling the pan is quite easy; all you do is bend the portion of the frame that holds the dog (circled below) toward the pan to make the pan go down, and away from the pan to make the pan go up when the trap is set.
After I do these simple modifications, I degrease the traps in a dishwasher then dye them using commercial logwood dye. I do not wax my 'coon traps. It's not a bad idea, but I have not found that step to be necessary.
There are higher quality, more expensive traps to choose, and many more modifications can be done. However, the good 'ole Duke 1.5 with just these few simple modifications has never let me down on my modest 'coon line from year to year.
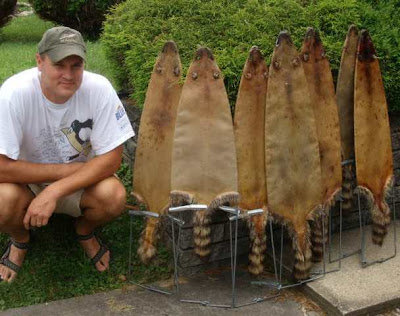
Just a handful of 'coons from last season:


No comments:
Post a Comment